Assuming that you finished the previous step “Discord setup” and you already copied the webhook URL, you are ready to proceed with adding “Discord” support to your desired form.
Basic configuration
1.1. Navigate to Discord Integration Feeds Setup
Go to WordPress Dashboard > Forms > Edit a form, then hover over the top “Settings” button and click on “Discord Integration”, then once you arrive on the Discord Integration Feeds page, create one by going to Add New.
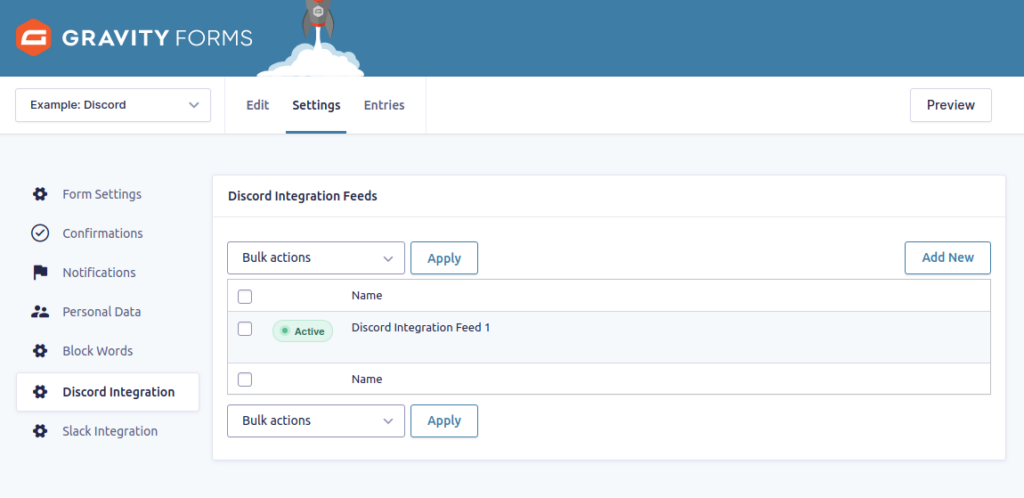
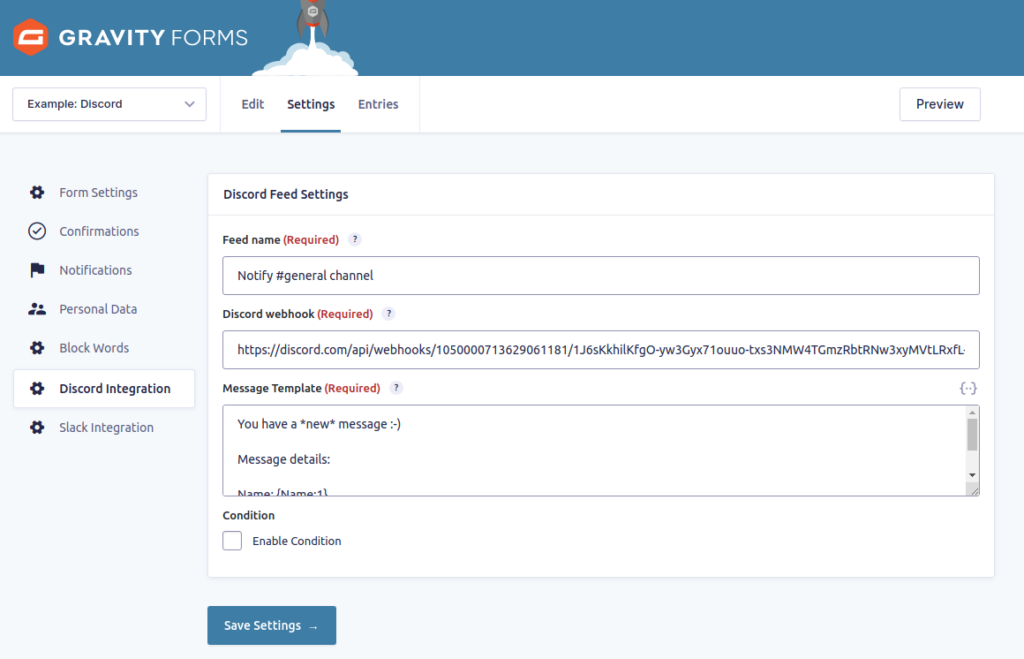
1.2. Create Discord Integration Feed
Discord Integration Feed is piece of configuration that is used to execute specific functionality once your form is submitted.
Basically if you want the form to notify the channel #general, create a webhook in Discord for this channel and then create Discord Integration Feed for this newly created webhook.
To create Discord Integration feed, paste the Discord Webhook url that you copied in its field, and create your Message Template, give the feed a name for identification purposes, then finally hit Save Settings.
1.3. Test the Discord Integration
If you completed the previous step, now it is time to test if your message is delivered. Go to the form and submit it, you should receive message on your Discord server immediately.
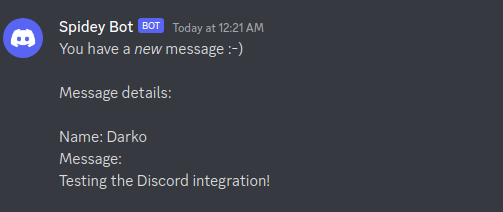
It works!
Advanced configuration, Multiple feeds
There might be cases where you want multiple messages in the Discord server when the form is submitted, for example one message notifies a one channel, then another message notifies another channel.
To do this, simply repeat the setup again, create new webhook in Discord, then create another “Discord Integration feed” and configure it, basically repeat again this page setup.
After the form is submitted, all the Discord Integration feeds will be processed and multiple messages will be delivered.